Minimalist nail art has taken the beauty world by storm, blending sophistication with effortless style.
Whether you’re transitioning from an important boardroom meeting straight to a fun happy hour, having chic nails is a must!
These three stunning DIY looks capture the essence of modern minimalism—elegant, simple, yet visually striking.
Perfect for any occasion, and easy to create at home, let’s bring some artistic flair to your fingertips!
Contents
1. The Simple Half-Moon
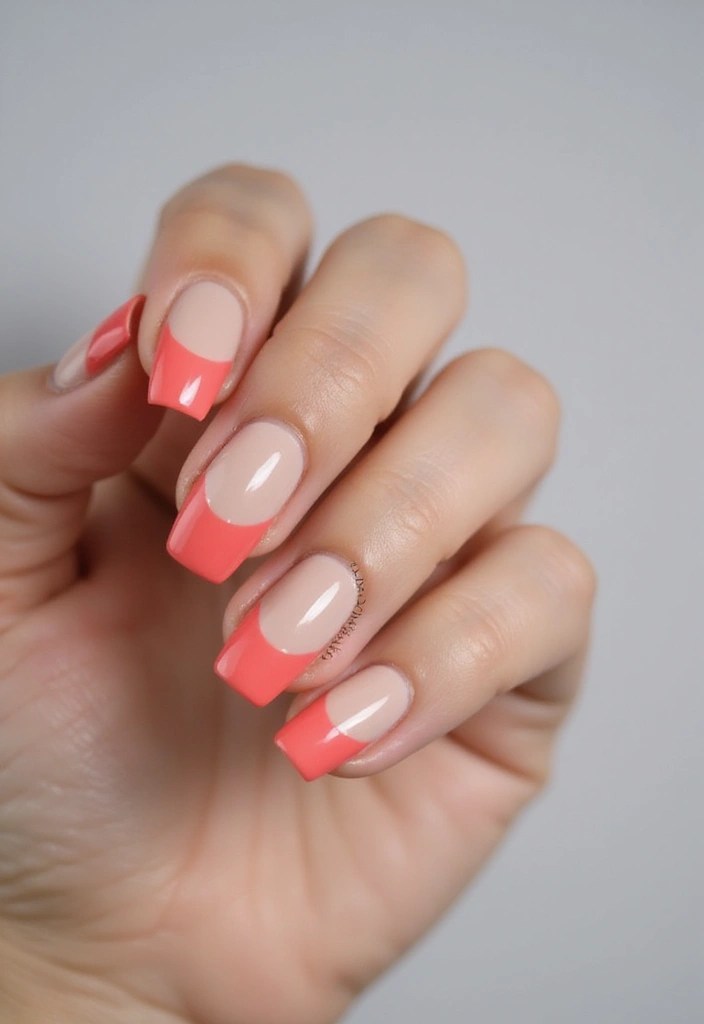
This classic design combines simplicity with a touch of sophistication, making it perfect for both the office and after-work events.
To achieve the half-moon look, you’ll need a neutral base color—think soft beige or light pink. Start by applying two coats of your chosen polish, like the neutral nail polish set which offers a lovely range of shades suited for this look. Once dry, use a round sticker or tape to cover the base of your nails, leaving the tips exposed.
Paint over the tips with a complementary color like white, mint, or even a soft gold for a bit of sparkle. For precise lines, the nail art tape can be a game changer—its adhesive design ensures that your polish stays neatly on the tips without any messy edges. After peeling off the tape, seal your design with a topcoat, like Sally Hansen Double Duty, which not only provides a streak-free shine but also helps your manicure last longer.
Multiple benefits come with this style:
– It adds a chic, modern twist to a traditional look.
– The half-moon shape elongates your nails, making them appear longer and more elegant.
– You can easily switch the colors based on your outfit or mood.
Remember to let each layer dry completely before moving on for the best results!
This design is not just about aesthetics; it expresses individuality while keeping it professional.
Simplicity is the ultimate sophistication. A chic half-moon design lets your nails shine at the office and sparkle at happy hour—effortlessly!
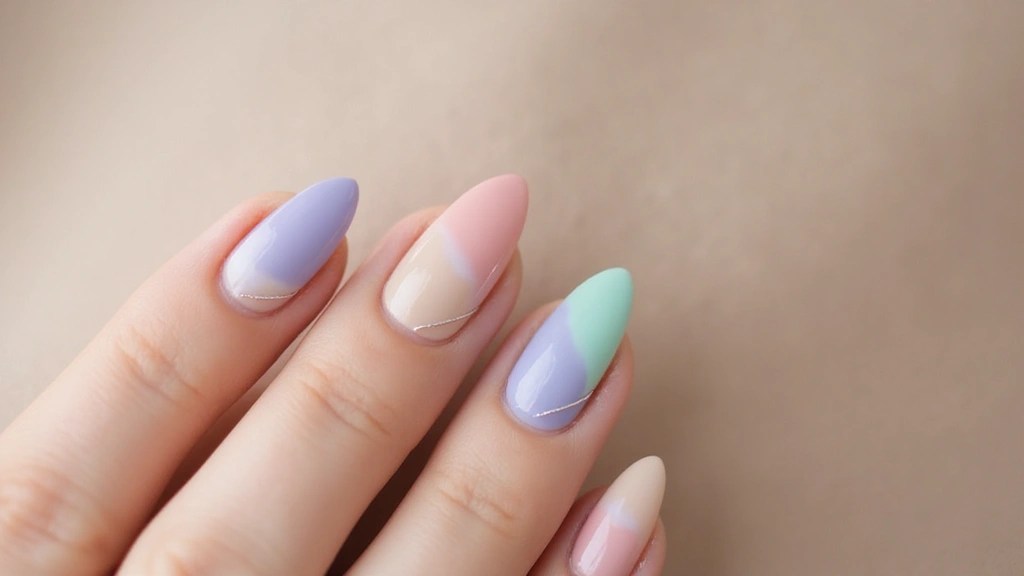
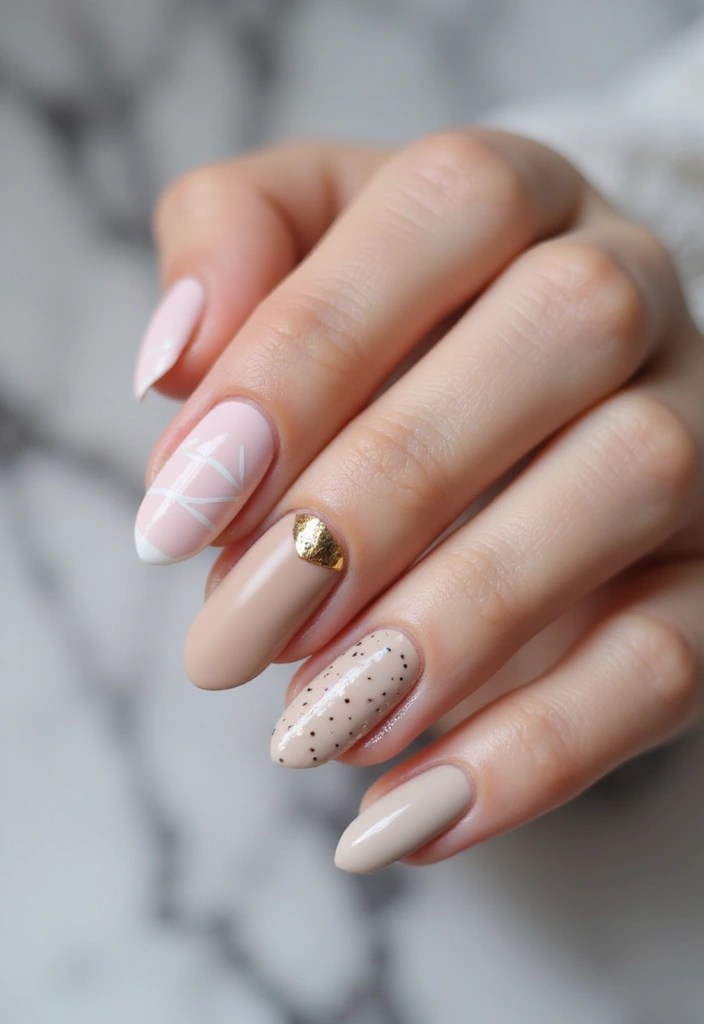
2. Negative Space Lines
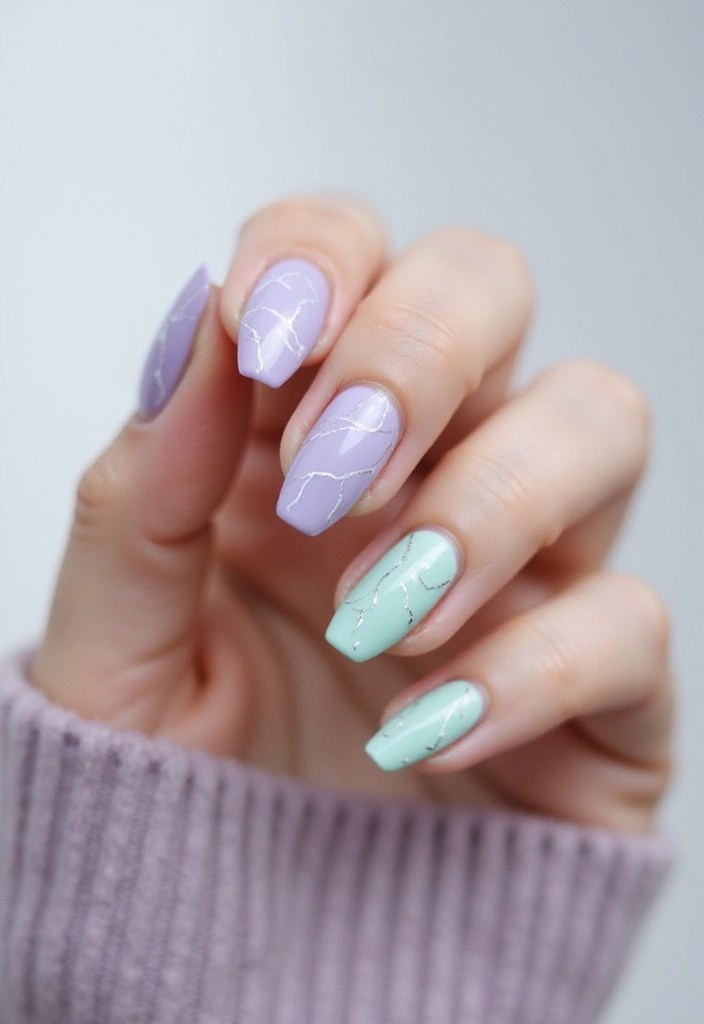
Negative space nails are all the rage right now. This trend uses the absence of polish to create stunning geometric designs!
Start by painting your nails with a sheer, nude polish as a base. Once dry, use a fine brush like the nail art brush set to create straight lines across your nails in a contrasting color, like black or deep blue. The beauty of this look lies in its imperfections—each nail can be unique!
Here’s why this design is fabulous:
– It’s incredibly versatile and can be adapted to any color palette.
– The simplicity yet striking appearance makes it suitable for a range of occasions.
– Easy to modify; you can have bold lines or more delicate strokes depending on your mood.
Using nail tape for art designs ensures that your lines are crisp and professional-looking, making the process easier and more enjoyable. To finish, add a glossy topcoat like the glossy top coat nail polish for shine. This style allows you to express creativity without overwhelming the minimalist vibe. Watch as compliments roll in during your happy hour—this nail art is sure to be a conversation starter!
3. Minimalist Dots
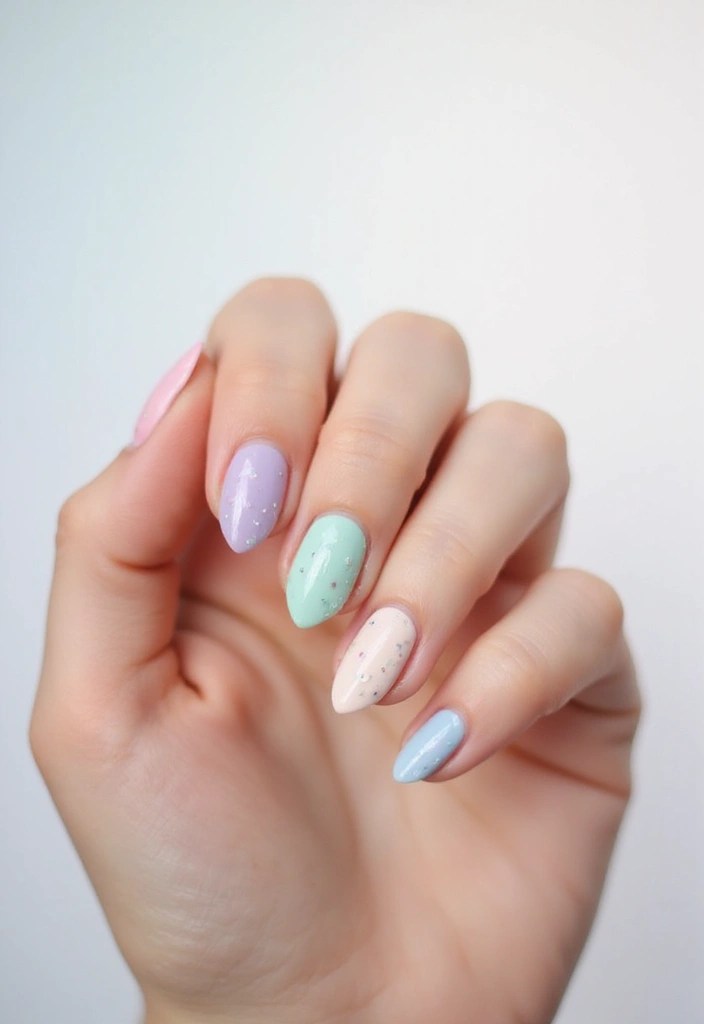
Dotting is a fun, playful way to add character to your minimalist nail art. This design is easy to create and perfect for transitioning from work to play.
Begin with a solid base color, maybe a classic white or a pale pastel. Once it’s dry, grab a dotting tool like the Dotting Tool Set to make the process seamless. The set includes various tools that allow for precision in creating those charming dots. Dip your tool into a contrasting color like coral or teal and create small dots at the base of your nails or along one side for a whimsical touch.
Here’s what makes dots fabulous:
– They’re fun and can be arranged in numerous configurations—make a pattern or go random!
– It’s a simple way to personalize your look without being too bold for the boardroom.
– You can mix and match colors for different days or occasions.
To elevate your design, consider using a nail polish set like the nail polish set (pastel colors). This set features beautiful shades that dry quickly and are perfect for creating that chic base for your dots.
Finish with a topcoat, such as the top coat nail polish, to ensure your stunning design lasts longer and has that glossy, high-shine finish.
With these products in hand, you’re ready to show off your chic nails! This design is playful yet elegant, making it perfect for any happy hour gathering.
You might also like

15 Stunning Date Night Skirt Ideas That Will Leave Him Speechless! 🌹
5 Chic Dresses That Transition From Boardroom to Dinner Date Effortlessly!
Conclusion
Minimalist nail art is not just a trend; it’s a way to express personality while keeping it classy.
With these simple DIY designs, you can effortlessly transition from boardroom professionalism to happy hour fun without missing a beat.
Why not try them all and find your favorite for the next outing? Your nails are your canvas—get creative and enjoy the process!
Note: We aim to provide accurate product links, but some may occasionally expire or become unavailable. If this happens, please search directly on Amazon for the product or a suitable alternative.
This post contains Amazon affiliate links, meaning I may earn a small commission if you purchase through my links, at no extra cost to you.
You Might Also Like
10 Stunning Kitchen Countertop Materials That Will Instantly Elevate Your Space!

10 Stylish Handrail Designs for Modern Homes (Safety Meets Style)
Frequently Asked Questions
What is minimalist nail art, and why is it trending?
Minimalist nail art is all about simplicity and elegance, featuring designs that emphasize clean lines and subtle details. It’s trending because it allows for personal expression while maintaining a sophisticated look that suits various occasions, from boardroom meetings to happy hours.
How can I achieve the perfect half-moon nail design?
To create the perfect half-moon design, start with a neutral base color that complements your skin tone. Once dry, use a contrasting color to paint the half-moon shape at the base of your nails. This design is chic enough for the office and fun enough for after-work outings!
What materials do I need for DIY minimalist nail art?
For DIY minimalist nail art, you’ll need a few basic supplies: a base coat, your chosen nail polish colors (preferably neutral and contrasting shades), a top coat for shine, and some tools like a dotting tool or striping tape for precision. Don’t forget to have some nail polish remover handy for any touch-ups!
Can I customize these minimalist nail art looks for different occasions?
Absolutely! Minimalist nail art is incredibly versatile. You can change colors or add small details to match the occasion. For instance, opt for a bold color palette for a happy hour or stick to soft pastels for a more professional boardroom look. The key is to keep it simple yet stylish!
How long do DIY minimalist nail art designs typically last?
With proper application and care, DIY minimalist nail art can last anywhere from 5 to 10 days. To ensure longevity, apply a top coat and avoid harsh chemicals like cleaning products. Regular touch-ups can also help maintain the fresh look of your designs while you transition from day to night!
Related Topics
minimalist nail art
DIY nail designs
office appropriate
happy hour nails
easy nail art
geometric nails
half-moon manicure
negative space nails
quick nail art
trendy nail styles
playful nail dots
sophisticated looks

Leave a comment