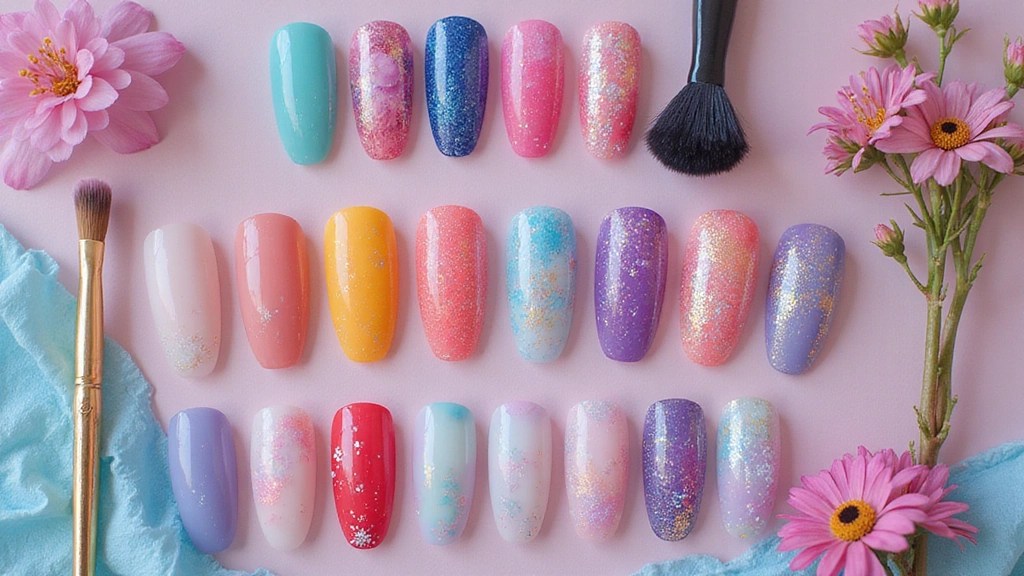
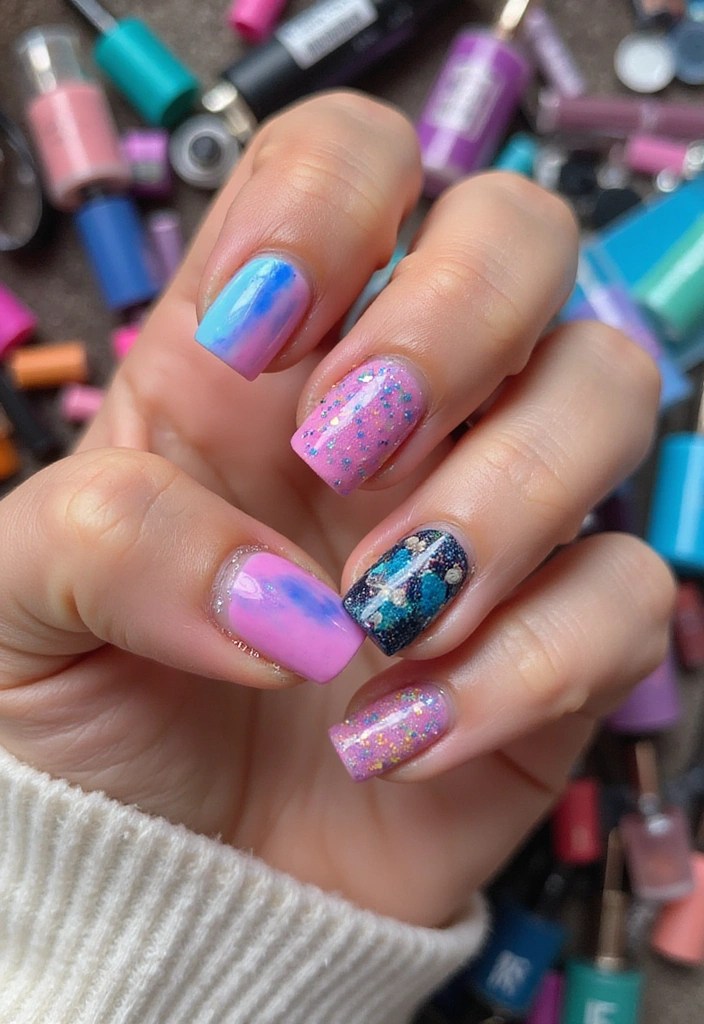
Aura nails are taking the nail art world by storm, and for a good reason! They combine vibrant colors and dreamy blends to create a magical effect that can brighten up any outfit.
Whether you’re preparing for a special occasion or just want to add a pop of fun to your everyday look, mastering aura nails at home is a fantastic way to express yourself. This article lays out ten easy tricks to help you achieve those stunning, ethereal aura nails that everyone will be talking about. Get ready to unleash your creativity and step into the world of trendy nail art!
Contents
- 1. Choose Your Color Palette Wisely
- 2. Master the Ombre Technique
- 3. Use a Dotting Tool for Unique Patterns
- 4. Add a Touch of Glitter
- 5. Experiment with Layering Techniques
- 6. Try Marble Effects for an Edgy Twist
- 7. Use Nail Tape for Clean Lines
- 8. Incorporate Nail Art Stickers
- 9. Don’t Skip the Top Coat
- 10. Embrace Your Unique Style!
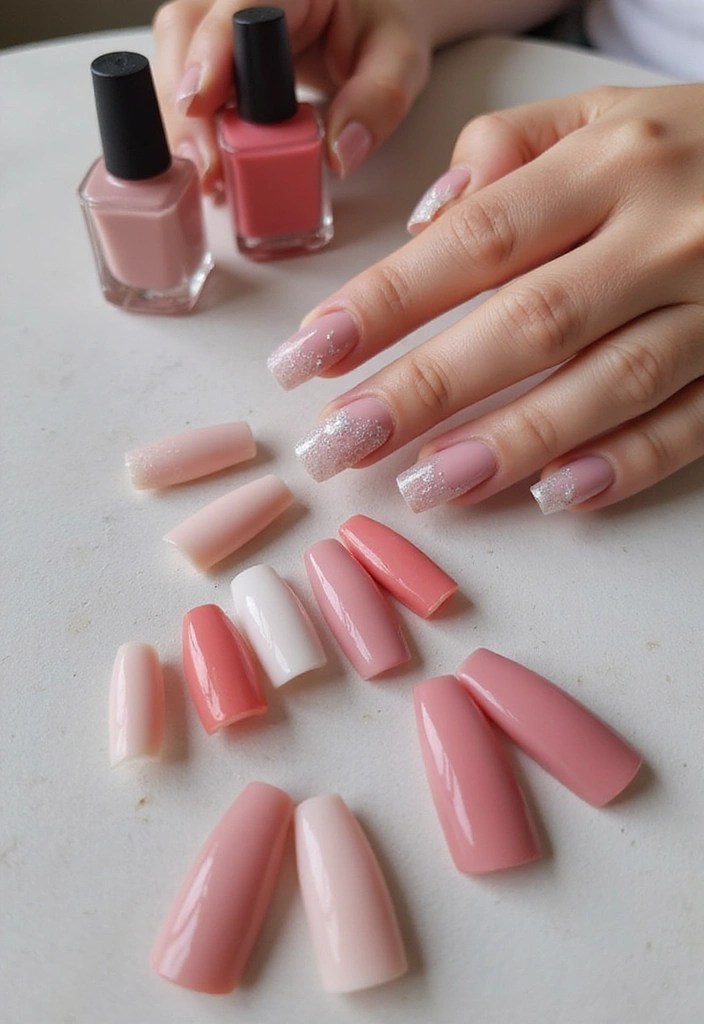
1. Choose Your Color Palette Wisely

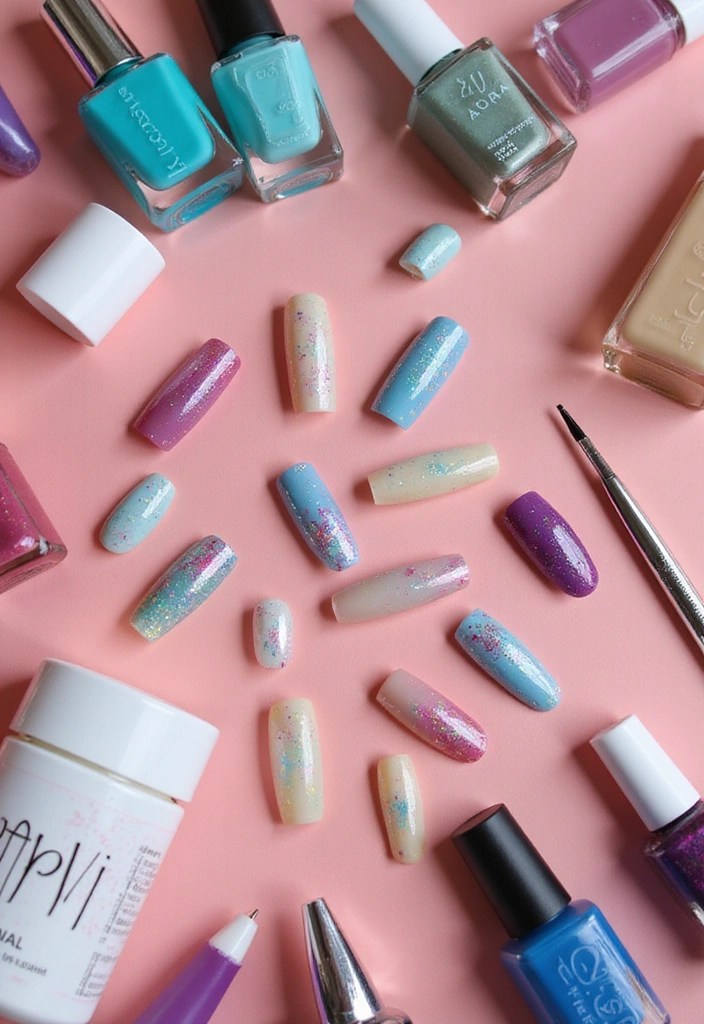
Aura nails shine brightest with the right color combinations. Start by selecting two to five complementary colors that speak to your style.
Think about warm tones like peach, pink, and gold for a cozy vibe, or cool tones like lavender, blue, and silver for a more serene look. When choosing colors, consider the mood you want to convey. You can even pick shades that match your outfits! To help with this process, using a color wheel for nail art can be really beneficial. This tool allows you to see which colors complement each other, making it easier to create a harmonious palette.
If you’re feeling adventurous, try a gradient with contrasting colors for a bold statement. To achieve that gradient effect, consider using the gradient nail art tools. This set comes with various brushes that make it simple to blend colors, giving you professional-looking results at home.
Mixing colors can be a fun experiment, so don’t be afraid to play around until you find the perfect blend. For a wide array of colors to choose from, the nail polish set – complementary colors is a great option. With fifteen bright shades, you’ll have plenty of choices to create stunning aura nails that reflect your unique style!
2. Master the Ombre Technique
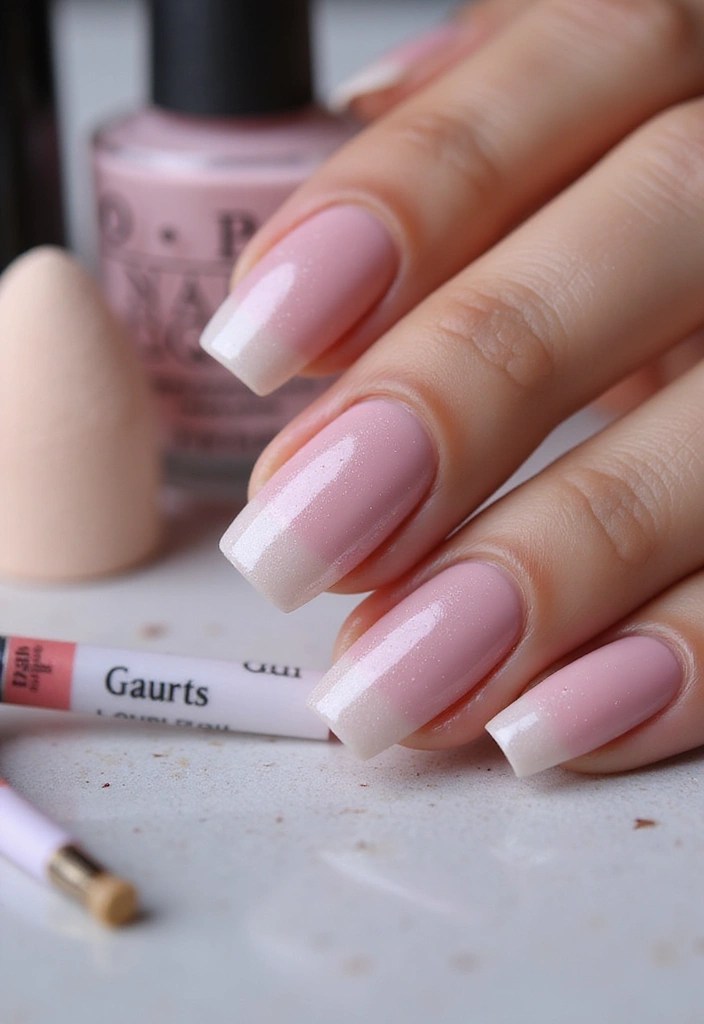
The ombre technique is the foundation of aura nails. It effortlessly creates the dreamy transition of colors that define this style.
To start, apply a base coat using Sally Hansen Double Duty™, Base and Top Coat, which provides a clear, streak-free shine while ensuring your colors adhere properly. Once it’s dry, use a makeup sponge like the Nail Art Ombre Sponge Set to apply a mix of your chosen colors. Simply dab the sponge onto your nail, merging the colors as you go.
The key is to blend! Don’t rush through it; take your time to ensure a smooth gradient. If you’re new to ombre, practice on a piece of paper first until you’re comfortable. Remember, less is more—start with a thin layer of polish from the Nail Polish Set with Ombre Colors and build up for the desired intensity. You’ll love the enchanting results!
3. Use a Dotting Tool for Unique Patterns

Once you’ve got the ombre down, take your aura nails to the next level by adding unique patterns with a dotting tool. This small tool can help you create dots, flowers, or even abstract designs with ease. Just dip the dotting tool into your desired color and gently press it onto your nails.
To make this process even easier, consider using a dotting tool set, which includes multiple sizes to give you a variety of design options. You can create clusters of dots in different sizes for a playful effect or line them up to form interesting designs.
For those who want to refine their skills, practicing on a nail wheel for practice is a great idea. It allows you to experiment with different placements and colors without the pressure of getting it right on your actual nails.
Additionally, if you’re looking to explore further nail art techniques, an nail art brush set can provide you with the tools needed for more detailed designs. With these products, you can truly unleash your creativity right at your fingertips!
4. Add a Touch of Glitter
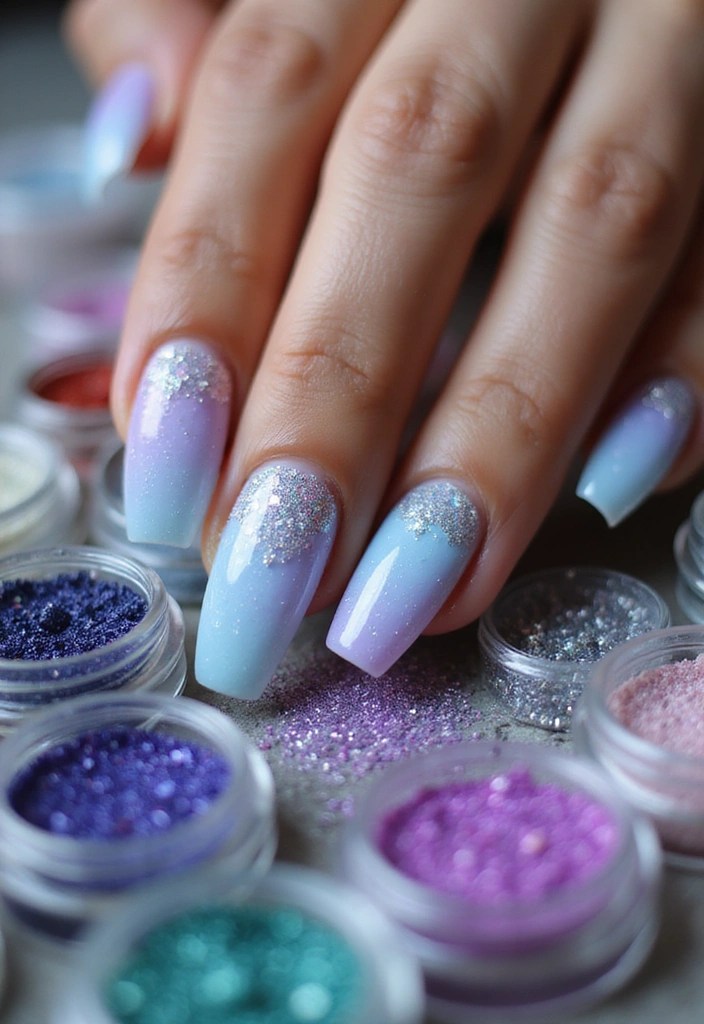
Glitter can elevate your aura nails from pretty to absolutely stunning! Adding a sprinkle of glitter not only enhances the aura effect but also adds a fun twist.
After applying your ombre base, use a fine brush or your finger to dab some glitter onto the tips or around the cuticles. This creates a magical, starry look. For a great selection of glitter, consider the fine glitter nail art set, which includes 36 colors of extra fine glitter that can add just the right amount of sparkle to your nails.
You can mix different types of glitter—chunky, fine, or metallic—to create dimension and texture. For a more intense look, the chunky glitter nail polish from Born Pretty features holographic silver sequins that can really make your design pop.
Remember to seal it all in with a top coat to keep everything in place. The top coat nail sealer from Beetles is perfect for this, providing a shine finish and long-lasting protection for your manicure.
A little goes a long way, so don’t overdo it! Just a few sparkles can transform your nails and make them pop with personality.
5. Experiment with Layering Techniques
Layering is key to achieving that dreamy aura effect! You can mix different finishes—matte, glossy, and even satin—to create depth and interest in your nail art.
Start with a solid color base, then layer on a translucent polish like sheer nude nail polish, which offers a clear translucent pink finish that dries quickly and adds a lovely dimension to your design.
If you use a matte top coat, such as Beetles matte gel top coat, over a glossy base, it creates an ethereal look that’s unique and striking. You can also experiment with layering different colors to create a multi-dimensional appearance.
Just be sure to allow each layer to dry fully before adding the next to prevent smudging. For precision in your designs, consider using the Artdone nail art brush set, which includes a variety of brushes for detailed work.
The end result will be a mesmerizing nail design that looks professionally done!
6. Try Marble Effects for an Edgy Twist
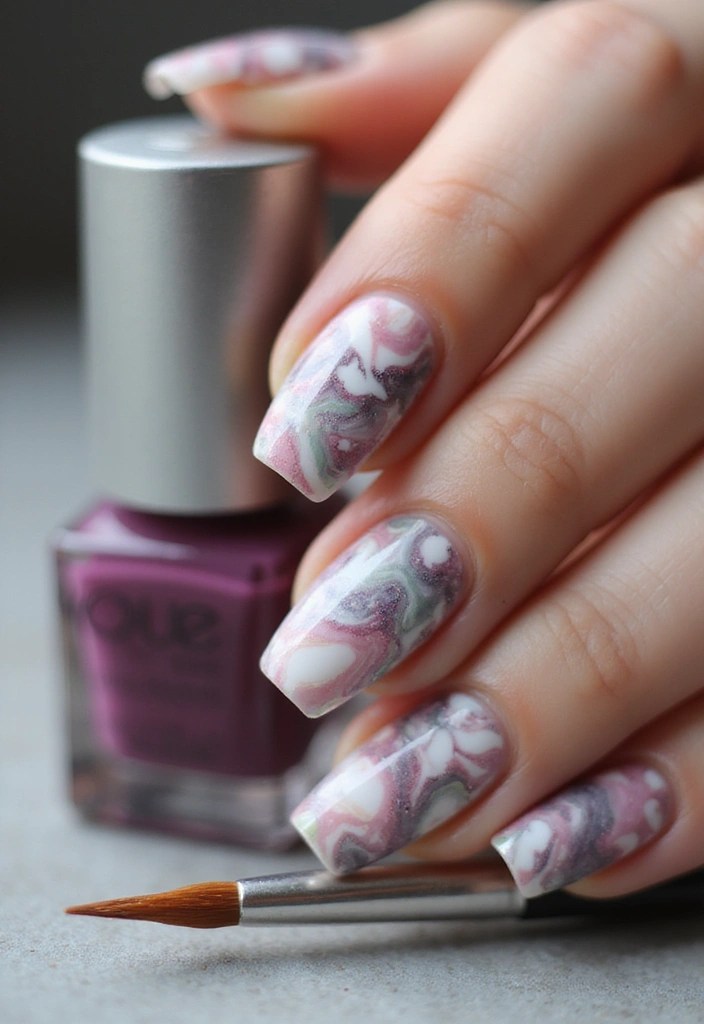
Marble nails are an edgy twist on aura nails and can be done with minimal effort! This trend gives your nails an artistic flair that’s both chic and modern.
To achieve the perfect marble effect, start with a solid base color using a quality base coat and top coat nail kit like Sally Hansen Double Duty™, which ensures that your nails look sleek with a streak-free shine while providing a strong foundation for your design.
Once your base is set, use a small brush or a toothpick to swirl two or more colors together on the wet base coat. A versatile nail art brush set, like the Artdone 31pcs Nail Art Tool Set, will be your best friend for this technique. Its various brushes and dotting tools make it easy to create intricate designs and mix colors effortlessly.
Add drops of your second and third colors and lightly drag your brush through the colors to mix them slightly. Don’t hesitate to experiment to find the pattern that speaks to you. With a vibrant nail polish set like the JODSONE 36 PCS Gel Nail Polish Kit, you can choose from a plethora of shades to create a stunning marbled look.
Don’t worry about making it perfect; the beauty of marble nails is in their uniqueness. Have fun playing with colors and designs, and let your creativity flow!
7. Use Nail Tape for Clean Lines
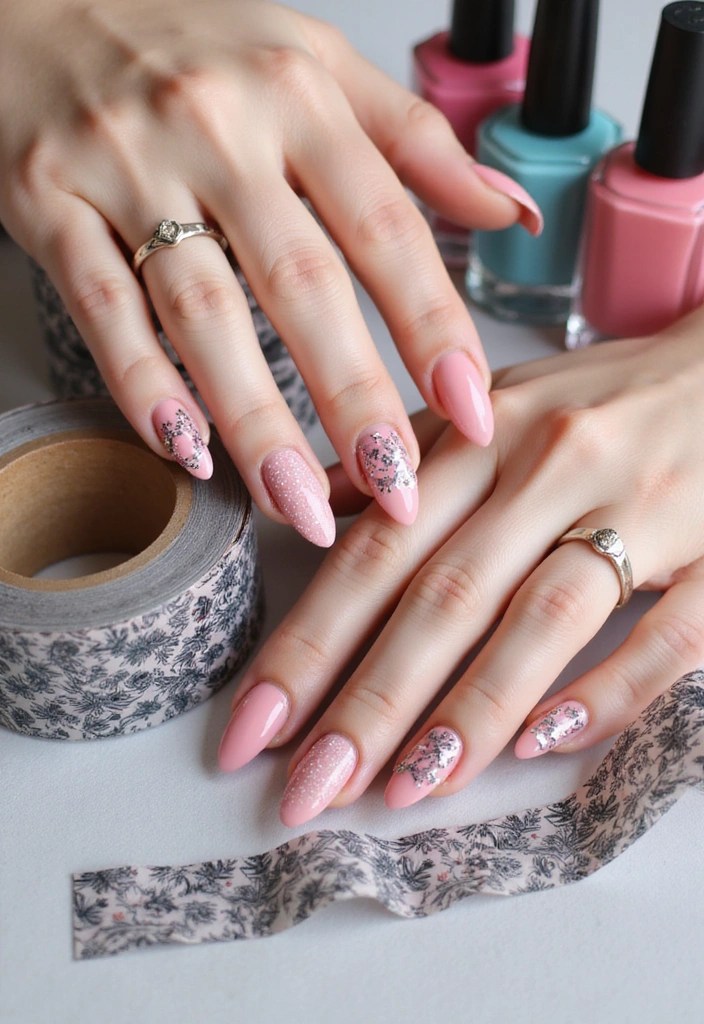
For those who love crisp and clean designs, nail tape is your new best friend! It helps create sharp lines and geometric patterns that can accentuate your aura nails beautifully.
Start by applying a base coat like Sally Hansen Double Duty™, base and top coat. This quick-drying and streak-free formula provides a perfect foundation for your nail art. Allow it to dry completely before moving on to the next step.
Next, use nail tape, such as Gellen Liquid Latex for Nails, to shape your design—whether that’s lines, triangles, or even checkerboards. The tape holds firm so you can paint over it with your selected colors without worrying about smudging.
After applying the tape, go ahead and use a vibrant shade from a nail polish set like the 15 bright color air quick dry nail polish gift set to bring your design to life. Once the polish is dry, gently peel away the tape to reveal perfect lines. This method is especially great for creating a two-tone effect on your aura nails.
Just remember to let the base coat dry completely before applying the tape to avoid pulling up the polish underneath. Happy painting!
8. Incorporate Nail Art Stickers
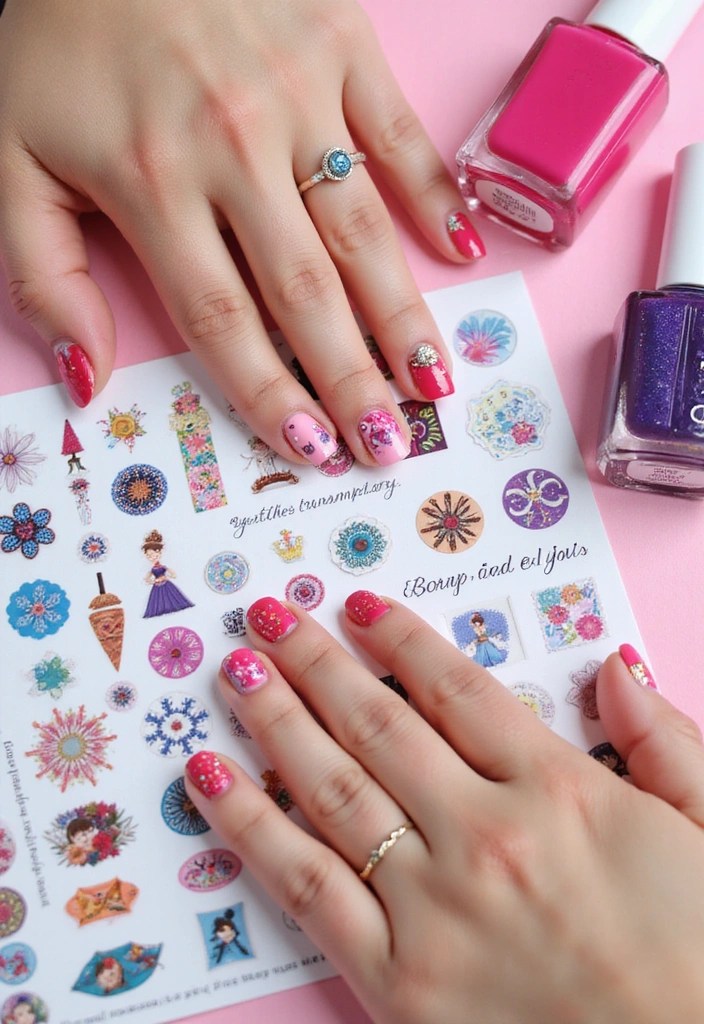
Nail art stickers can add charm and personality to your aura nails effortlessly. They are perfect for beginners as they require little skill but pack a lot of visual punch!
After applying your aura base, simply choose your favorite stickers from a set like the Nail Art Sticker Set. This collection features colorful floral decals, geometric shapes, and fun graphics that can elevate your design.
To keep your stickers lasting longer, seal them with a top coat after applying, such as the Top Coat Nail Polish. This quick-drying formula provides a chip-resistant and high-gloss finish that protects your nail art and keeps it looking fresh.
Mix and match different stickers for a playful effect, just remember to choose designs that complement your aura colors for a cohesive look. This small touch can make a big impact!
9. Don’t Skip the Top Coat
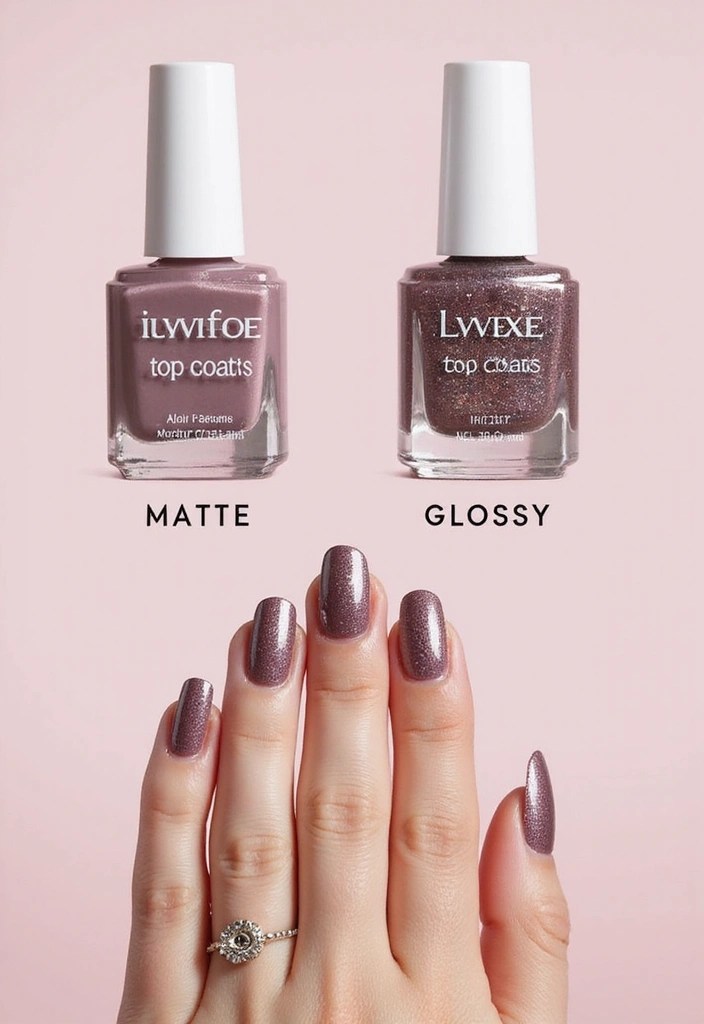
One of the most crucial steps in achieving beautiful aura nails is the top coat! It not only adds shine but also protects your artwork from chips and scratches.
After completing your design, apply a clear top coat like Clear Nail Top Coat to seal everything in. This final layer enhances the colors and makes your designs stand out even more!
Be sure to let the base layers dry before applying the top coat for the best results. If you’re looking for a different finish, consider trying the Matte Top Coat, which offers a unique matte finish that can add depth to your nail art. Alternatively, for a glossy look, the Glossy Top Coat from KUPA provides a high-shine finish without the need for wiping, ensuring your nails look fresh and vibrant.
A top coat is essential for longevity, ensuring your nails stay fab for days. Don’t skip this step if you want your nail art to last!
10. Embrace Your Unique Style!
The best part about aura nails is that there are no rules! It’s all about creativity and self-expression. Don’t be afraid to mix techniques and styles. Combine different colors, patterns, and effects to create a look that’s uniquely yours.
To help you on your journey, consider investing in a nail art brush set. With 31 different tools, including dotting tools and striping brushes, you’ll have everything you need to experiment with precision and design.
If you’re looking to enhance your color palette, the gel nail polish kit comes with 80 pieces, including 55 stunning colors and all necessary manicure tools. This variety will inspire you to explore different combinations and techniques.
For adding intricate designs, the nail art stamping kit is a fantastic resource. With 15 plates featuring lace, flowers, butterflies, and more, you can easily stamp beautiful patterns onto your nails, making it simple to achieve professional-looking designs at home.
Whether you love subtle elegance or bold statements, your aura nails can reflect your personality perfectly. Keep experimenting and have fun with it! Remember, practice makes perfect, so enjoy the process. The more you play with colors and designs, the more confident you’ll become in your nail art skills.
Wrap Up Your Aura Adventure
Nail art is all about having fun and expressing yourself, and aura nails offer a tremendous canvas to do just that! From mastering the ombre technique to incorporating stickers or glitter, you now have ten fantastic ways to create show-stopping nails right at home.
So grab your nail polish, put on some music, and let your creativity flow! Remember, practice makes perfect and the only rule is to enjoy the journey. Happy nail painting!
Note: We aim to provide accurate product links, but some may occasionally expire or become unavailable. If this happens, please search directly on Amazon for the product or a suitable alternative.
This post contains Amazon affiliate links, meaning I may earn a small commission if you purchase through my links, at no extra cost to you.

Leave a comment